Wednesday, December 25, 2013

Merry Christmas, 2013

Joy has dawned upon the world,
Promised from creation—
God's salvation now unfurled,
Hope for ev'ry nation.
Not with fanfares from above,
Not with scenes of glory,
But a humble gift of love—
Jesus born of Mary.
Son of Adam, Son of heaven,
Given as a ransom;
Reconciling God and man,
Christ, our mighty champion!
What a Savior! What a Friend!
What a glorious myst'ry!
Once a babe in Bethlehem,
Now the Lord of hist'ry.

"Joy Has Dawned Upon the World"
Words and Music by Keith Getty & Stuart Townend
Copyright © 2004 Thankyou Music


Merry Christmas!


Monday, November 25, 2013

Staying Warm, Or Trying To

Winter arrived with a bang on Saturday.  It's cold, it's been snowing, and that's not going to change.  It's more like January than late November.

As I sit here typing, I am covered with a blanket I finished crocheting over the summer.  I had started it several times using one pattern, but it just wasn't coming out right, so after I ripped it out twice, I decided to go with a tried and true pattern.


The pattern is the Little V-Stitch Blanket from Lion Brand, which I crocheted using about 1-1/2 skeins of Caron One Pound Yarn.  I made it a lot bigger by using a longer foundation row.  Once it was nearly 39" square, I decided to add a scalloped border for a nice finish. 


My blanket is nice and warm, as well as plenty large to tuck under my arms and still have it cover my feet.

In other news, things here are still crazy.  I am looking forward to finishing physical therapy at the end of December (thanks to insurance changes, but I am SO ready, even if I don't meet all the goals I "should"), but for now, I still go twice a week, and one of those days we go to an early afternoon doctor's appointment, usually for Phil, and then I take the 5:30 physical therapy slot, the last of the day.  Phil's Myeloma is still not under control, and we have added two additional chemo drugs (in pill form) over the last month.  We found out at his oncology appointment this past Wednesday that his oncologist is moving to the cancer center a mere 10 minutes from our house, which will be very helpful since we may well move to both an oral and injectible chemo once that switch takes place.  On top of that, his kidneys are failing again, and we are carefully watching the blood markers that will indicate when he will need to begin home dialysis again, after four years off all dialysis.  We are hoping to hold off the surgery needed to prepare until after the holidays, but should know on Tuesday whether we are keeping our December 2 appointment with the surgeon.  See why I am ready to be done with therapy?

I remain thankful to God for sustaining me - us - through the past four months since my knee replacement and the craziness of all these appointments.  My fibromyalgia is acting up, though, so I am counting down the remaining 10 therapy appointments with great anticipation.

Friday, November 1, 2013

Practical Pre-Surgery Sewing

Before my surgery, I completed two other projects.


My daughter had purchased a little purse like this one, from which I made a pattern and sewed my own.  I had thought I would use this after surgery when I went to doctor's appointments, but as it turned out, I only used it while in the hospital.  It was just large enough for my cell phone, a small packet of kleenex, and . . . well, I forget what I put in it!  But it was very helpful.  And by the time I saw the doctor for the first time, I was using a cane and could carry a regular purse.

For about three weeks, I had to use a walker to get around.  After looking around on the Internet for free patterns for walker totes, I came up with my own.


(That's Kelly helping me with my picture taking.)  My thought was to make a bag large enough to turn into a tote bag once I no longer needed it for the walker, so the ties you see on the sides were sewn on by hand, and the straps on the top were stitched on using buttons (I sewed through the buttons and the straps).  These have also been removed.  I've stitched webbing straps to one side of the bag, but alas, it remains on my sewing table, waiting for me to take the 15 minutes to pin and sew the other sides down.

A note on the fabric:  it's a heavy-weight utility-type fabric that I found in the remnant bin and paid next to nothing for.  It was a great purchase since I got two projects out of it, and still have some left over.

Sunday, October 13, 2013

Too Long!

When I scheduled my last blog post on Tuesday, July 23, the day of my knee replacement surgery, I had no idea it would be nearly three months until I had an opportunity to blog again!

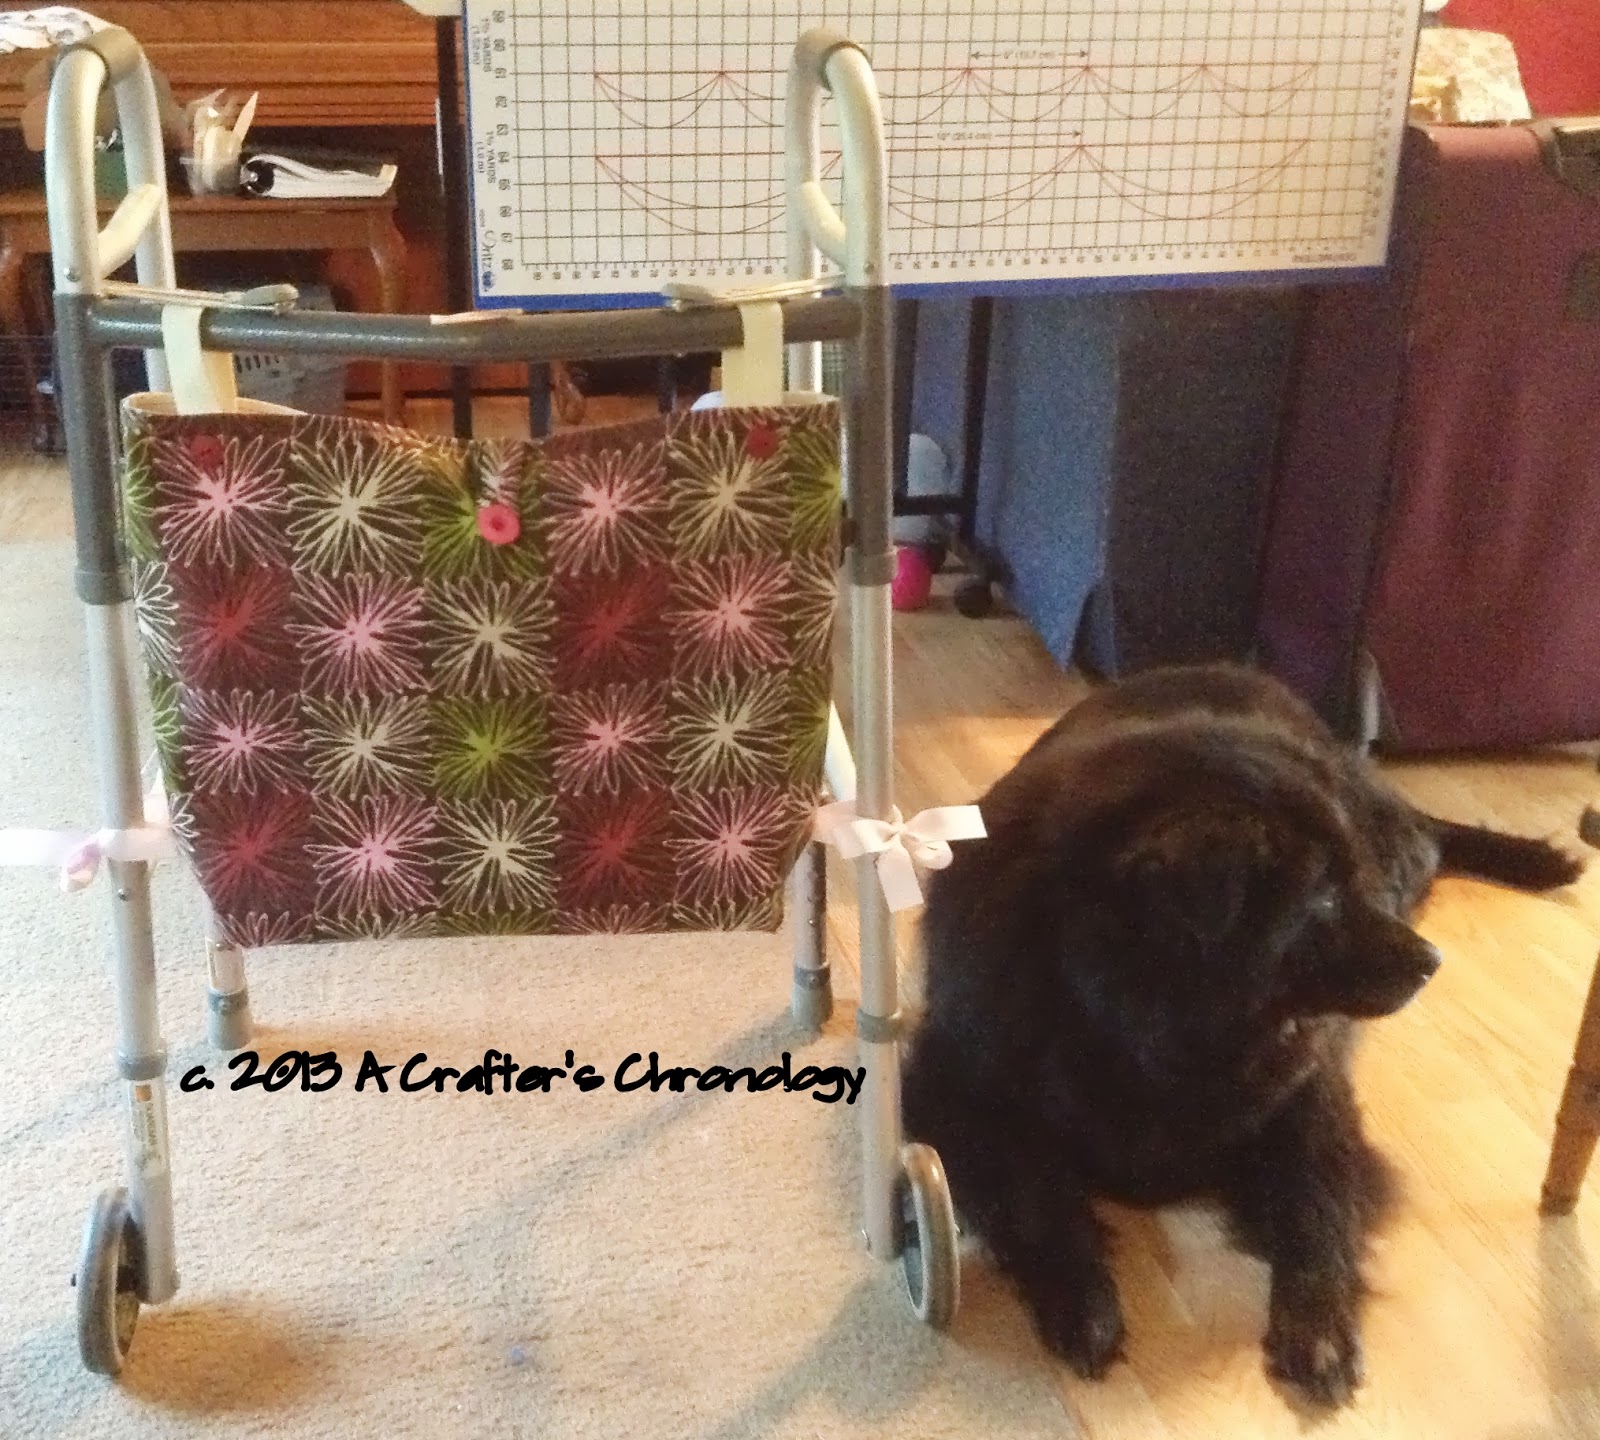
Everything went well with my surgery, and I was released from the hospital on Thursday afternoon, just two days after surgery.  I started home physical therapy the following Monday (I think!); my first therapist made it seem like coming to my home was a terrible inconvenience, and even threatened me with a revision - a forced bend of the knee done under anesthesia - when I couldn't bend to 90 degrees by Friday.  Yeah, it didn't set well with me, either.  But the following Tuesday the regular therapist for our area was back on the job, and he was fantastic!  Despite the fact that therapy was difficult and painful, I looked forward to seeing Ben three times a week and was sad when he said he was sending me to outpatient therapy after just two weeks with him.  But by that point, I had said goodbye to my walker and was sporting a classy cane.


I reasoned that if I had to use a cane, it might as well look nice, so I took a fat quarter, cut 5" wide pieces, seamed them together, then created a tube.  I also stitched a casing for elastic at the top and bottom.  After I threaded the tube onto the cane (I had to take the rubber piece off the bottom), I pulled the elastic tight, tied it in a knot, and manage to slide the ends into the tube.

I have had many people ask me whether my cane is an umbrella, and whether I prettied it up myself!  One person even had a long conversation with me about how I could market my cane covers.  Sadly, I thought my idea was original, but I found several places on the Internet where people sell them, and I would have to perfect my design - do something different to secure the fabric at the top and bottom of the cane - before selling them.  But I would be happy to make covers for anyone who asked.

My schedule is extremely full, and is likely to remain so for the foreseeable future.  Physical therapy is progressing slowly.  I saw my surgeon on Wednesday, and he told me that his observation has been that the younger a knee or hip replacement patient is, the harder the recovery is because their ligaments and muscles are still strong and resist the stretching they must do to get the knee to bend to at least 120 degrees and also to straighten fully.  So I continue to go to therapy twice a week.  (The last time I was measured about a week ago, I had a 102 degree bend, and could extend my knee to -2/-3 degrees - almost straight.)  In addition to PT, we have one other obligation every week, plus church.  My limit is three days out per week, and all that adds up to four, so my fibromyalgia is acting up, making things even more difficult.  I will be able to double up on some appointments starting a week from Monday - a doctor's appointment for one of us early in the afternoon, then PT late (the latest appointment on Monday and Wednesday is 5:30, and since I am scheduling far in advance, I pretty much get my choice of times.)  That will definitely help.

We received bad news last week:  my husband's kidneys are failing again.  They were extremely stressed for some still unknown reason during his stem cell transplant last November, and things never improved.  He had to resume treatment for his Myeloma a little over a month ago and because it hasn't started working yet, the light chains (for those of you who understand the mechanism of Myeloma) are plugging up his kidneys.  Unfortunately, the treatments which would probably be most effective and act quickly will cause further kidney damage, so he is in a difficult situation.  We met with the kidney doctor last Friday to discuss things, and will see the oncologist on Tuesday.  The nephrologist's (kidney doc) best guess is that at the current rate of damage, it will be a couple of months before Phil will have to resume dialysis, meaning it might not be all that long before he will have to have surgery to place the catheter he will need for home dialysis since it needs several weeks to heal before it can be used.  We will also have to have a refresher course since it has been nearly four years since Phil was on dialysis.  On the other hand, if the rate of damage slows down, we could have quite a while to wait.  So we will prepare as best we can.  And I will work as hard as I can so I can finish PT before we need to deal with the dialysis issue.

As you can tell, there is never a dull moment at our house!  We have been doing a Bible study as a family called Quieting a Noisy Soul.  The timing is perfect, as God's always is, as we are learning how to rely not on our emotions, but on the truths about God that are in the Bible.  It is difficult to see how much we don't know about God, but encouraging that He wants us to know Him more and more, and is patient with us while we learn.

I have more pictures on my computer to share in future blog posts, so hopefully my silence will not be for long.  Right now, though, I need to go downstairs for pizza!


Tuesday, July 23, 2013

Princess Cassie

I have scheduled this post to be published on the morning of my knee replacement surgery.  I will miss my kitty while I am in the hospital, and I am certain she will be lost without me since she is my buddy.


Cassie has taken to reclining on the decorative pillows from my bed.  The princess in her is coming out!


But don't tell HER she's a princess - she doesn't like it!


She also loves to sleep on the bed, and whenever someone comes in the room, she will roll over on her side, begging to have a good belly and head rub.

I can't wait to get home to (1) shower, which they won't let me do in the hospital, (2) get some much-needed sleep, and (3) to see my special kitty!


Tuesday, July 9, 2013

Birthday Card

My daughter, Grace, celebrated her 23rd birthday at the end of June.  Her husband suggested I make a feminine card instead of one with monkeys on it as I was thinking of doing.

My card combines several different ideas.  This one is the basic idea, while this one at Splitcoaststampers.com inspired the rest of the front.


To figure out how to make the card base, I watched the excellent video by Becca Feeken on YouTube.

My card base was made using Spellbinders Decorative Labels Eight.  The next layer I cut with Spellbinders Labels Eight, then embossed the oval on the top with Designer Frames by Sizzix for Stampin' Up!  Using my Stamp-a-ma-jig, I stamped my words in the oval.  (The stamp is from the set Salutations by Anna Griffin, and the ink is Violet pigment ink by Color Box.)  Finally, I ran just the bottom of the panel through my Cuttlebug using the Swiss Dots embossing folder.  The ribbon was a last minute addition.

It was fun to learn a new technique, one I know I will continue to use often. 

Tuesday, July 2, 2013

Anniversary Card

This card required a lot of cutting with my Cuttlebug, but the results were definitely worth it!


My card is almost an exact copy of the ones here.   Like my inspiration, I started by cutting nine motifs with one of the Spellbinders Fleur de Lis Pendants.  I then used 1/4" Pop Dots, which I cut in half, to affix them to my card base.  Each motif except for the center one received a pearl in its center.  My focal image was stamped and then cut out with Spellbinders Fancy Tags Three.  I cut an oval to fit behind the center to give it some color before using more Pop Dots to affix it to my card.


Monday, June 24, 2013

Graduation Card

Our nephew graduated from high school in early June.  You guessed it - I made him a card.


The card is really very simple.  The decorative paper (Paper Pizazz) was cut using Spellbinders Labels Eight, then mounted on a piece of red cardstock (even though it looks orange in the picture).  The Diploma stamp is by Inkadinkado, which I stamped with Memento Tuxedo Black ink, and cut out with Spellbinders Classic Ovals.  I then mounted it on a larger oval, cut with the same set.

The Congratulations stamp is by Uptown Rubber Stamps.  I used a water-based marker to color it, then stamped it on white cardstock, again mounting it on a piece of black.  Both the diploma and congratulations were affixed to the card using 1/4" pop dots.

Personal news:  I am scheduled for knee replacement surgery on Tuesday, July 23.  At the time I am writing this blog post (about 10 days prior to it going live), my pain level continues to increase.  I use a cane whenever I go out, but I told my husband that I think my shopping days are pretty much over for now.  (Thank goodness for Amazon!)  I don't really know what to expect as far as recovery goes - it may be more difficult because I have fibromyalgia - but I know that it will be worth it to finally have a knee that works.  (I have had problems with my knee since my late teens.)  I don't know when I will be able to blog again - we have a lot of appointments between July 1 and July 18 -  but I do hope to get some crocheting and maybe cross stitch done while I am recovering, so as long as I can remember to take pictures, I will have projects to share.  And if I am able to schedule a few more posts in advance, I will do just that!

Tuesday, June 18, 2013

Mother's Day Cards

I made matching Mother's Day cards for both our moms this year, although I did put different poems on the inside of each.

My inspiration card is here.


I tried something new for my sentiment.  Many months ago when I was at the large Michael's Arts and Crafts store near here, I found a starter set of Silhouette Sketch Pens.  These are designed to replace the cutting blade in my Silhouette Portrait.  I found a font I liked and after sketching my words, I cut them out using one of the dies in the Spellbinders Floral Ovals set.  I then used a larger Floral Oval die and cut it out of the purple cardstock.  1/4" Pop Dots were used to pop up both ovals.


For my background, I ran a piece of white cardstock through my Cuttlebug with the Spellbinders M-bossabilities embossing folder, Mystic, using side B.


Right before mounting all of that on another piece of purple cardstock, I put a piece of silver ribbon around it, then tied a "cheater's bow" on one end.

It was fun to learn how to use the sketch pens, and I will certainly use them again!

Thursday, June 13, 2013

Anniversary Card

My daughter and son-in-law celebrated their third wedding anniversary at the end of May.  I can't believe it's been that long already!  Here is the card I made for them.


The card I used for inspiration (and pinned to Pinterest, of course) was posted on Splitcoaststampers.  For my version, I used Spellbinders Fancy Tags Three; my stamp didn't have a manufacturer listed on it.  I popped the sentiment up on 1/4" Pop Dots.  To create the bow, I used my Bow Easy, a great tool for anyone who makes bows.

Straightforward and pretty!

Wednesday, May 22, 2013

Dishcloths

I haven't felt like working on my cross stitch, but instead have done a lot of crocheting.  I had a lot of Sugar 'n Cream yarn sitting around, some full skeins, some leftovers, and we had a need for new dishcloths.


I learned about the Foundationless Chain technique earlier this year, and I am hooked on it (no pun intended).  There is an excellent tutorial here and other instructions here.  The one thing I have never have enjoyed about crocheting is the chain row, and then the very first row of the pattern.  With this technique, I have a much more even foundation row with much less frustration.


These dishcloths are done in half-double crochet, and are 34 stitches across by as many rows as needed to make a square.  I crocheted in the back loops only, giving them a bit of texture.  Although you can't see it in the pictures, I then crocheted two rows of single crochet around all four sides.  It takes me a couple of hours while watching TV to make one.

I did use all the full skeins I had, and am now mixing and matching (the best I can) the leftovers I have.  These dishcloths are plenty thick and work much better than the ones I've previously made from fancy patterns. 

Monday, May 20, 2013

I've Taken Up Quilting!

With paper, that is.

I became intrigued with quilt cards after seeing some on Pinterest.  (Take a look at my Quilt Cards board here.)  My mother-in-law is a quilter, so I thought for her 91st birthday I'd make her a quilt card.


I used paper from DCWV's Linen Closet Matstack. I cut each of the 25 squares with one of the dies from Spellbinders Classic Squares Small set, which was a lot of cutting.  (I since have purchased 3/4" and 1" square punches.)  I embossed the completed square with Spellbinders M-Bossabilities Mystic folder.


The quilt square is mounted on two pieces of cardstock, then affixed to the card base.


My sentiment is from Verve Stamps, and is cut out with an oval punch from Stampin' Up!, then layered on a larger size of oval, also from SU!  I mounted it on top of a brown ribbon using pop dots.

I have since made several other quilt blocks, which I will share soon.  These are fun and addictive!

As this post goes live (I've written it in advance), I am in my orthopedist's office, discussing knee replacement.  It's time.  And I hope the doctor will agree.  If he does, I will get the surgery as soon as possible.  Doesn't recovering from joint replacement seem like a great way to spend my summer?    (It sounds better to me than continuing in pain!)  I will let you know what happens.

Friday, May 17, 2013

Thinking of You

Several ladies in our church had surgery not too long ago, and another needed some encouragement.  And I needed some practice with my Silhouette Portrait.


The design is a freebie from Bird's Cards.  I added the sentiment - an old Sweet Impressions stamp - which I stamped with Memento Tuxedo Black ink and cut out using Spellbiners Labels Twelve.  I also glued a piece of pink cardstock behind the cut-out front of the card.  These cards are small, around 3" square if memory serves, but give just enough space on the inside to write a quick note.


Tuesday, May 14, 2013

Another Birthday Card

This birthday card is more complicated than the card I showed in my last post.  Ready?


First, my inspiration was this card.  (To see more of the kinds of cards which inspire me, start here on Pinterest.)


I started by stamping the squares with images from Inkadinkado's Flourishes clear stamp set.  This is an awesome set; I had trouble choosing which stamps to use!  After mounting the designs, which I cut out by hand, on blue cardstock, I evenly spaced them on a piece of yellow cardstock.  I cut the lace-edged border on the bottom of a piece of white cardstock using my Silhouette Portrait.  It was a free design I found on the Internet. 


The Happy Birthday stamp is from Verve, and I stamped it with Memento Bahama Blue ink, which matched the cardstock I used for the background of the card.  I mounted the sentiment on yellow cardstock which I cut with Spellbinders Fleur de Lis Rectangles.  Most of the rectangle is covered by the sentiment, so all you see is the edge, which is a nice effect.

I embossed the blue background with the Cuttlebug folder Wicker Weave.  I really like that folder!  The ribbon is actually two - a piece of white underneath a sheer polka dot one.  Oh, and to finish it off, I affixed the blue rhinestones because I thought the card needed a bit of bling.

I am pleased to say that the recipient loved the card.


Saturday, May 11, 2013

A Birthday Card for My Mom

It seems I am in good company among bloggers:  I keep reading things like "I've been such a bad blogger lately".  Enough said.

Back at the beginning of April, my mom had a birthday.  Of course, I made her a card.  :)


My card is almost an exact copy of this one.  I used the same embossing folder from the Cuttlebug set Just My Type.  The label is Spellbinders Labels 4, and the stamp is by Verve Stamps.  I used Brilliance Pearlescent Purple Ink.  The baker's twine is from Home Sew.

This card isn't complex, but I love all the colors, just right to welcome spring!

Sunday, March 24, 2013

Last of the Christmas Decorating

I promise - these will be the last pictures of my Christmas 2012 decorating.

Entryway

Primitive Box
on bench on Entryway


I purchased two berry vines on sale.  
One of them I put at the top of one set of 
kitchen cabinets using Command hooks.

The other one I put around the top of
my china cabinet.  I like the berries so much
I plan to leave them up for now.